
Build a Word Cloud
Word Clouds are a powerful way to visualise what your audience really thinks about the solution you have built. They are easy to read, quick to produce, and simple to understand. In this step, we will go over how to build a solution Word Cloud in Microsoft Power BI.
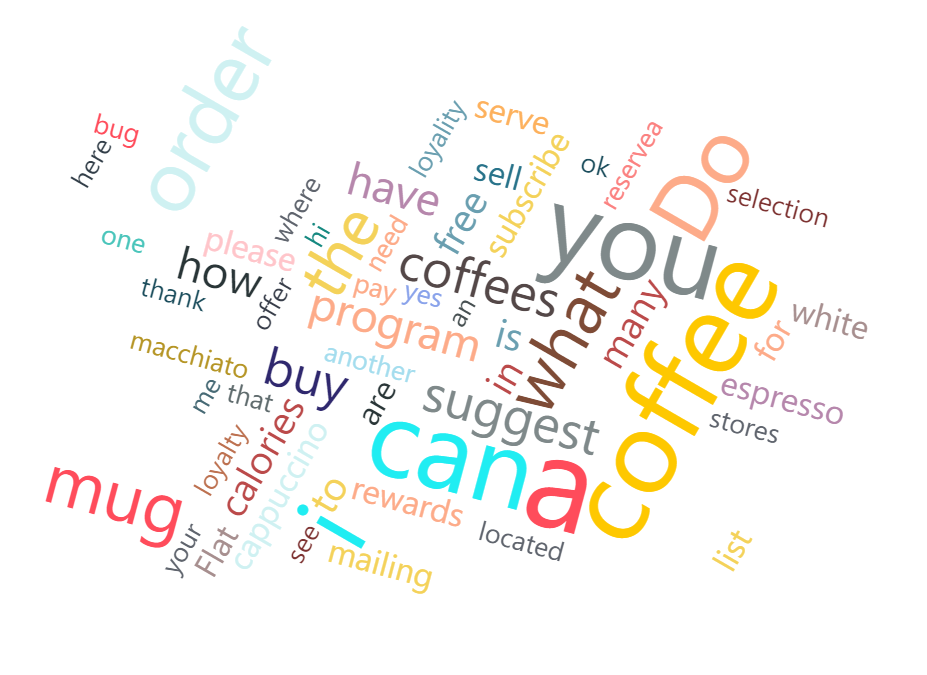
The final product should look like this:
Add a query
In order to create a Word Cloud, we will use Teneo Query Language to retrieve inputs from the user. This can be done in Inquire with the following steps:
- Open up a published solution with log data. For this example, you can use the 'Longberry Baristas' solution included in your environment.
- While inside the solution, select the 'SOLUTION' button located in the top left corner. This will take you to the solution backstage.
- Select 'Optimization', followed by 'Log Data'.
- Expand the 'Manage' button and open up the relevant 'Log Data Source'.
It is now time to create our own query to catch every single input from the user. This will also be accommodated with a regex option to exclude empty inputs.
- Go ahead and paste in the following query:
tql
1 1000 la t.e.userInput 's:UserInput' : t.e.userInput ~= ".(\w.+\s).+"
2This will list every single input made by the user.
7. While inside the same query, locate to the 'Share' button and give your query a name like Word_Cloud. This will make sure other developers who have access to the solution can use the same query without having to re-create it.
8. As a last step, we will need to publish the query. Select the Word_Cloud query from the 'Shared Queries' section to the left, followed by the 'Publish' button. After pressing that button, another 'Publish' button will appear; click that one as well.
Load data to Power BI
The next step is to load the query that is created to Power BI together with the connector provided by Artificial Solutions. The method varies depending on which version of the connector you are using.
- For the Scale connector, please see these instructions.
- For the Production connector, please see these instructions.
- For the Development connector, please see these instructions.
Download the 'Word Cloud' visualization
Power BI comes with a number of included visualizations that are widely used through different dashboards. While these provide a very good starting point, it is also possible to add more visualizations to your dashboard in order to cover all of your use cases. In our case, we will need to add the 'Word Cloud' visualization to our dashboard by doing the following:
- While inside Power BI, locate to the 'Visualization' section on the right.
- Click on the three dots ... and press on 'Get more visuals'. This will open up a new window with different visualizations to choose from.
- Locate 'Word Cloud' and add it to your other visualizations.
Create the dashboard
Now that you have created the query and added the 'Word Cloud' visualization to your Power BI, it is time to display the results.
- In the 'Field' section, expand the 'Word Cloud' data.
- Select the 'UserInput' line.
- While the 'UserInput' is still selected, click on the Word Cloud logo under the 'Visualizations' section.
- Resize the visual and edit its appearance in the Format pane as desired.
Congratulations, you have now created your own Word Cloud inside Power Bi, using data from your Teneo Solution!
Download
- Request access to Teneo Developers to get access to Longberry Baristas here.
- Download the Power BI connector from GitHub, Production Setup and Development Setup.